Advertisers use Google Merchant Center to connect their product feed to Google Ads.
But Google Merchant Center offers a ton of other features on top of that. Advertisers can connect product reviews, and add their promotions with their Shopping Ads, among other things.
These extra features are called Google Merchant Center programs.
In this article, we’ll explore the nine programs that you can leverage to squeeze more sales out of your product feed.
Table of Contents
What are Google Merchant Center Programs?
Google Merchant Center programs help you to show ratings in your ads, add remarketing, and manage your promotions.
Think of these programs as additional tools to the normal Google Shopping experience. They help your products get more exposure, potentially increasing sales.
Where to Find Google Merchant Center Programs
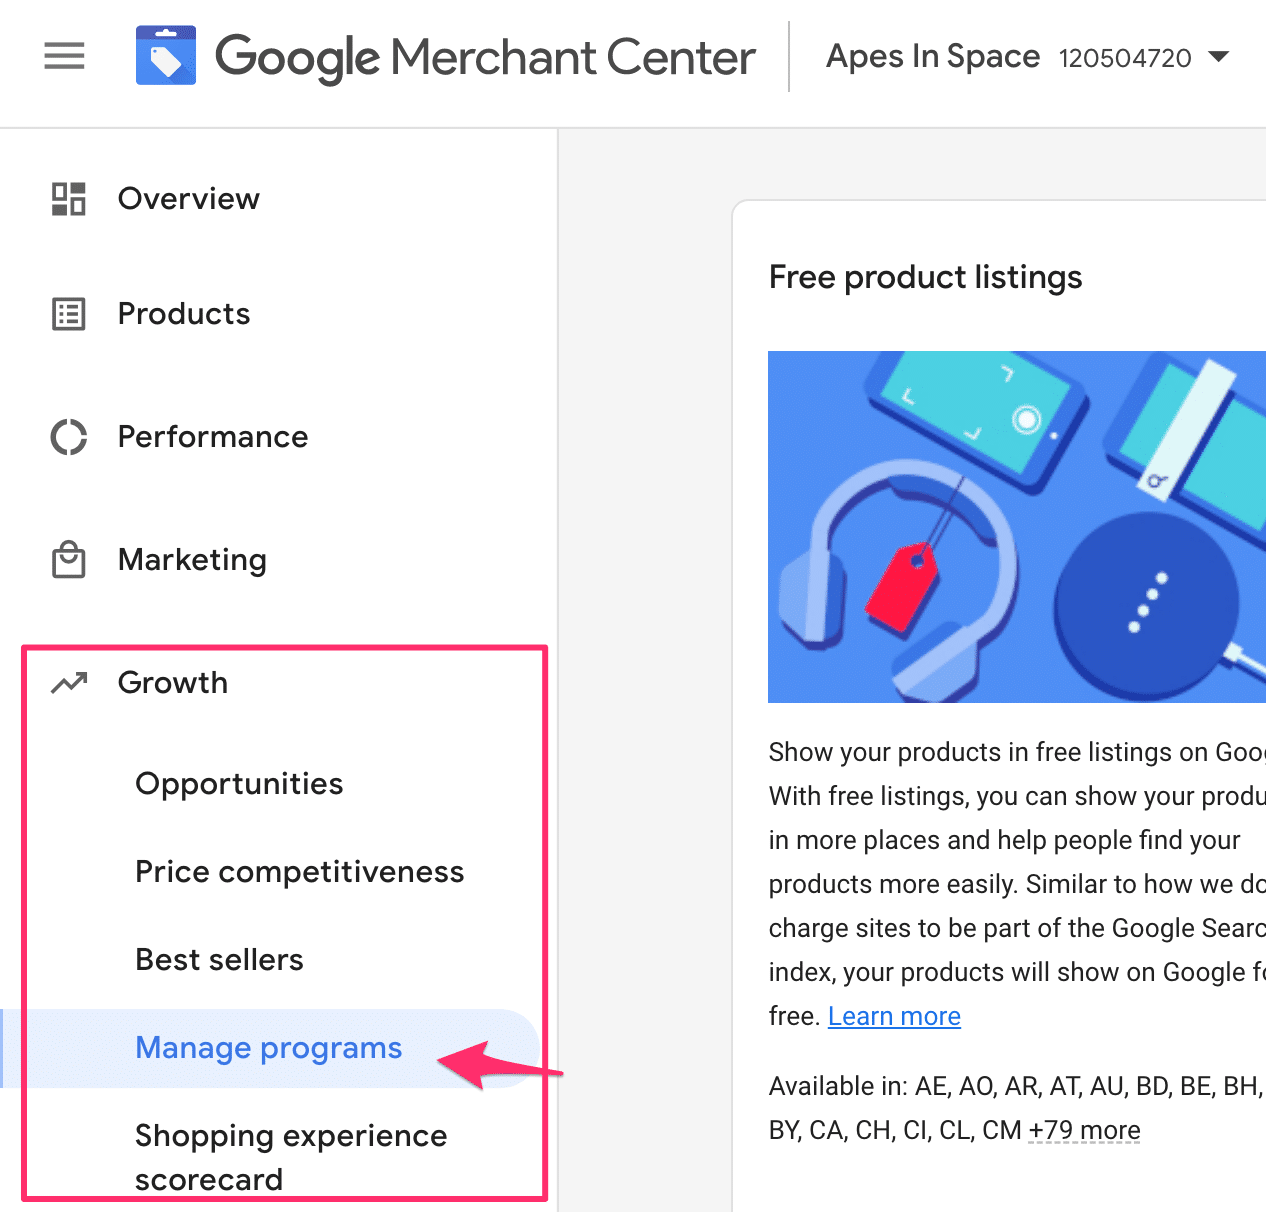
Before we talk about all the different programs, let me show you where you can find them.
In the left-hand menu, click Growth, then choose Manage programs.
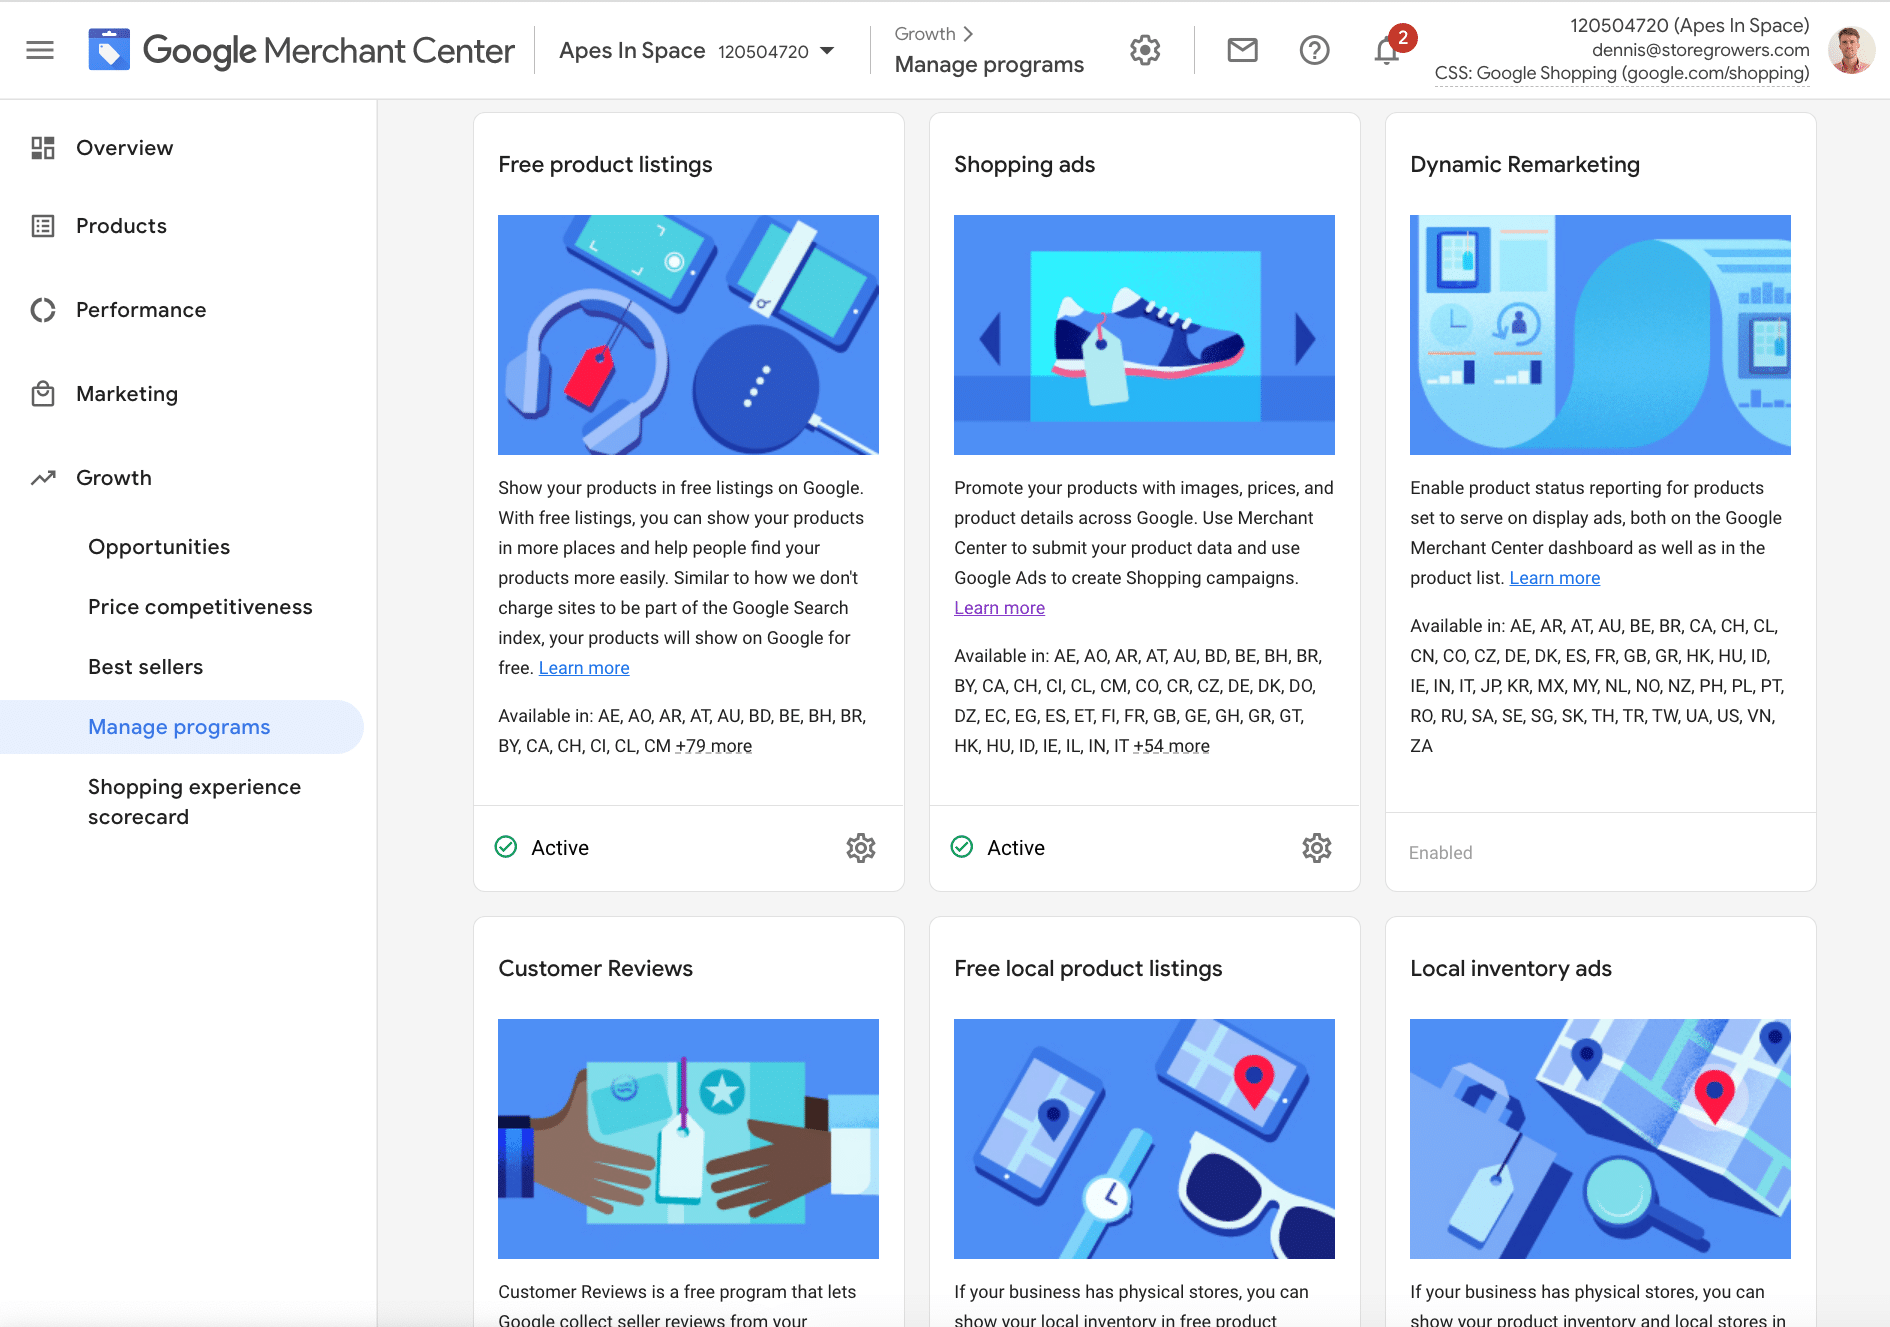
This gives you an overview of all the programs that are available in your account.
From here you can turn all of the different programs that we’ll cover below on or off.
-
Google Shopping Ads
If you’re reading this article, there is a good chance that you’re already running Shopping Ads.
If not, Google Shopping Ads is the most important program you can activate in Google Merchant Center.
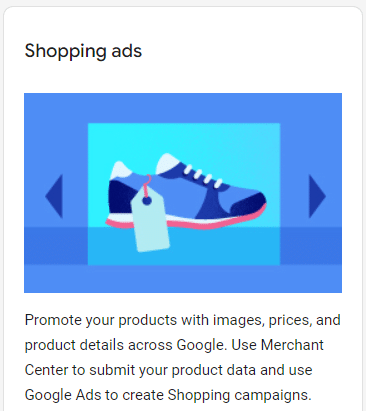
Shopping Ads utilizes your product data like images, prices, product titles, and other details in order to reach out to shoppers searching for products that you are offering.
How to Set up Google Shopping Ads
The only requirement for Google Shopping Ads is to have products in your Google Merchant Center account.
Very often this program is already activated.
-
Google Dynamic Remarketing
With Dynamic Remarketing, you can retarget your past store visitors by showing them ads for products they’ve looked at, but have not purchased.
With these Dynamic Remarketing ads, you increase the chances of getting a return customer.
How to Set up Google Dynamic Remarketing
To run Dynamic Remarketing campaigns you’ll need to:
- Upload your product data to Google Merchant Center
- Link your Google Merchant Center to your Google Ads account
- Enable the Dynamic Remarketing program in Google Merchant Center
- Add customized remarketing tags to your site (that way Google knows which products a visitor has seen)
- Create a Display campaign that exclusively targets people from this audience and that uses dynamic ads
-
Merchant Promotions
Merchant Promotions allow you to show special deals in your Shopping Ads. You can offer things like discounts or free shipping for specific products.
With promotions showing in your Shopping Ads, you’ll often see a higher click-through rate (CTR).
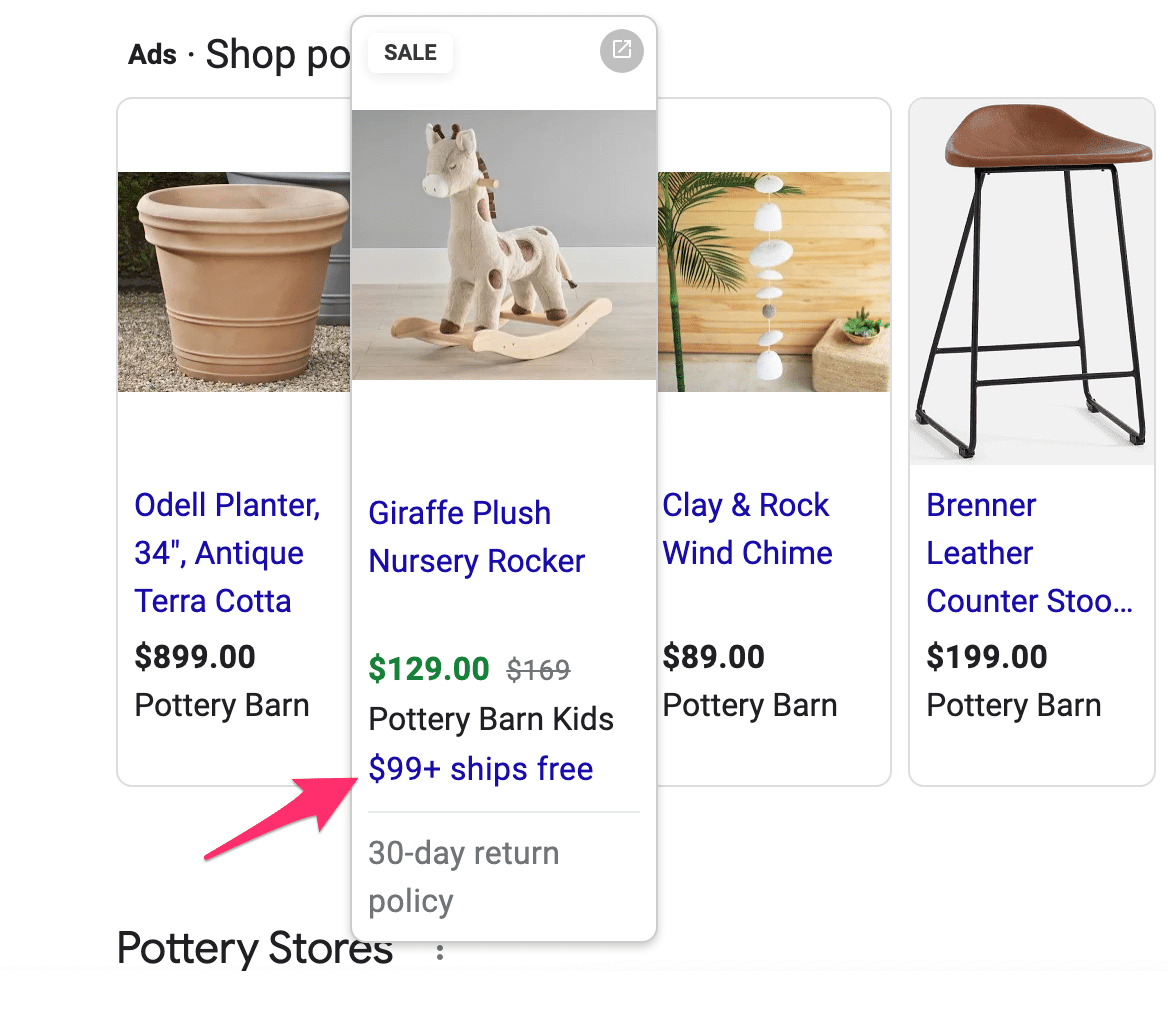
Here is what a Shopping ad with a Merchant Promotion looks like:
You can see the “$99+ ships free”. If you click that, you see the details of the offer.
All of that information is managed in Google Merchant Center.
How to Set up Merchant Promotions
Merchant Promotions are currently only available in the following countries: Australia, Canada, France, Germany, India, the United Kingdom, and the United States.
If you’re in one of these countries, you can activate the Merchant Promotions program.
Then you can set up an actual promotion. Here is how that works
- Pick the country you’re targeting
- Pick the type of promotion you’re running: discount, percent off, free shipping, or a free product
- Add the details of the specific promotion (for example free shipping on orders over $99)
- Choose which products you want to target (all or specific ones)
- Add start/end dates.
To learn more about Merchant Promotions, check out the Google support docs.
-
Free Product Listings
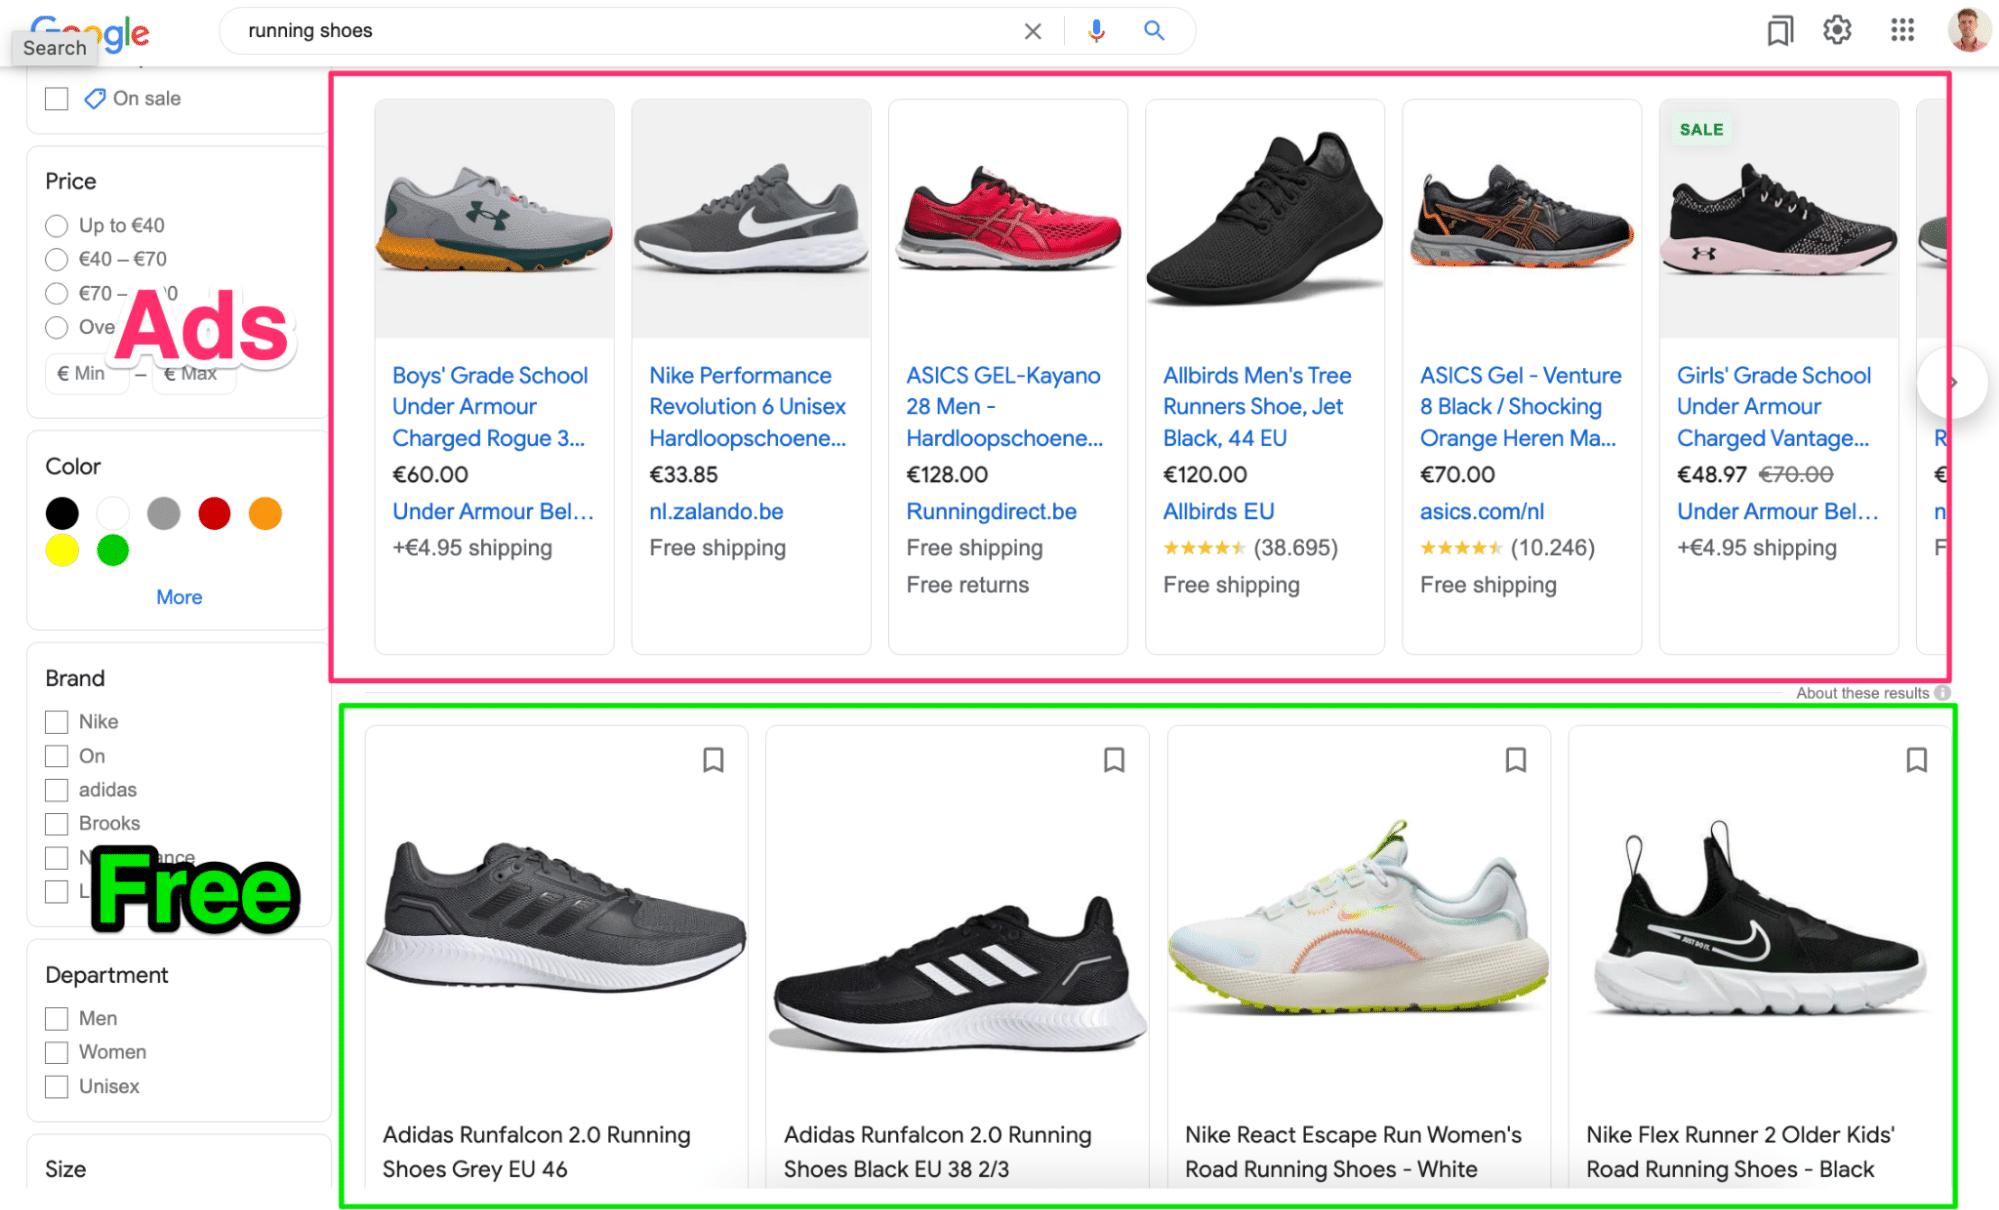
Besides Shopping Ads, you can also advertise your products for free through the Free Product Listings.
These free Shopping Ads show in a few different places. The most common ones are the Shopping tab and Google Images.
How to Set up Free Product Listings
Getting started with Free Product Listings is pretty straightforward.
If you have products uploaded in Google Merchant Center, you can simply activate the Free Product Listings program and get going.
If you run into trouble, check the Google support docs.
-
Product Ratings
Products Ratings allow you to show star ratings in your Shopping Ads.
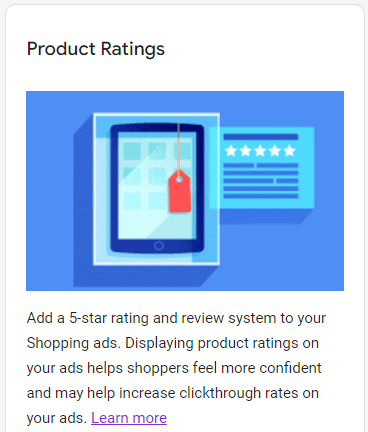
Showing your product’s ratings through customer reviews and ratings is a great way to build credibility for your product. A product rating appears as one- to five-star grading, and it is shown in ads and in free product listings.
Note that product ratings are different from seller ratings, which are reviews about your business, not specific products.
How to Set up Google Product Ratings
There are three ways to get your Products Ratings to show:
- Merchant Center: upload a product review feed that connects to your store
- Third-party aggregators: connect to a third-party provider that manages your reviews
- Google Customer Reviews: another GMC program to collect reviews (see below)
Each one has pros and cons, you can check Google’s documentation for more details.
Note: if you’re using a feed to upload your Product Ratings, you need at least 50 reviews across all your products before the Star Ratings can show.
-
Buy on Google
Buy On Google allows customers to purchase your products directly on Google.
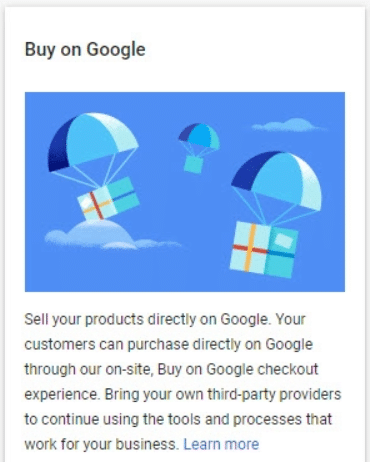
This commission-free program enables customers to purchase products from registered sellers straight from Google. (This program used to be called Google Shopping Actions)
Right now, it’s still only available in the US.
And after having set it up for a few clients, I don’t find it particularly useful. It’s a big hassle and it doesn’t drive any additional volume.
It’s one of Google’s attempts to compete for product searches with Amazon. Because it’s not very successful, I don’t think the program will last much longer in its current form.
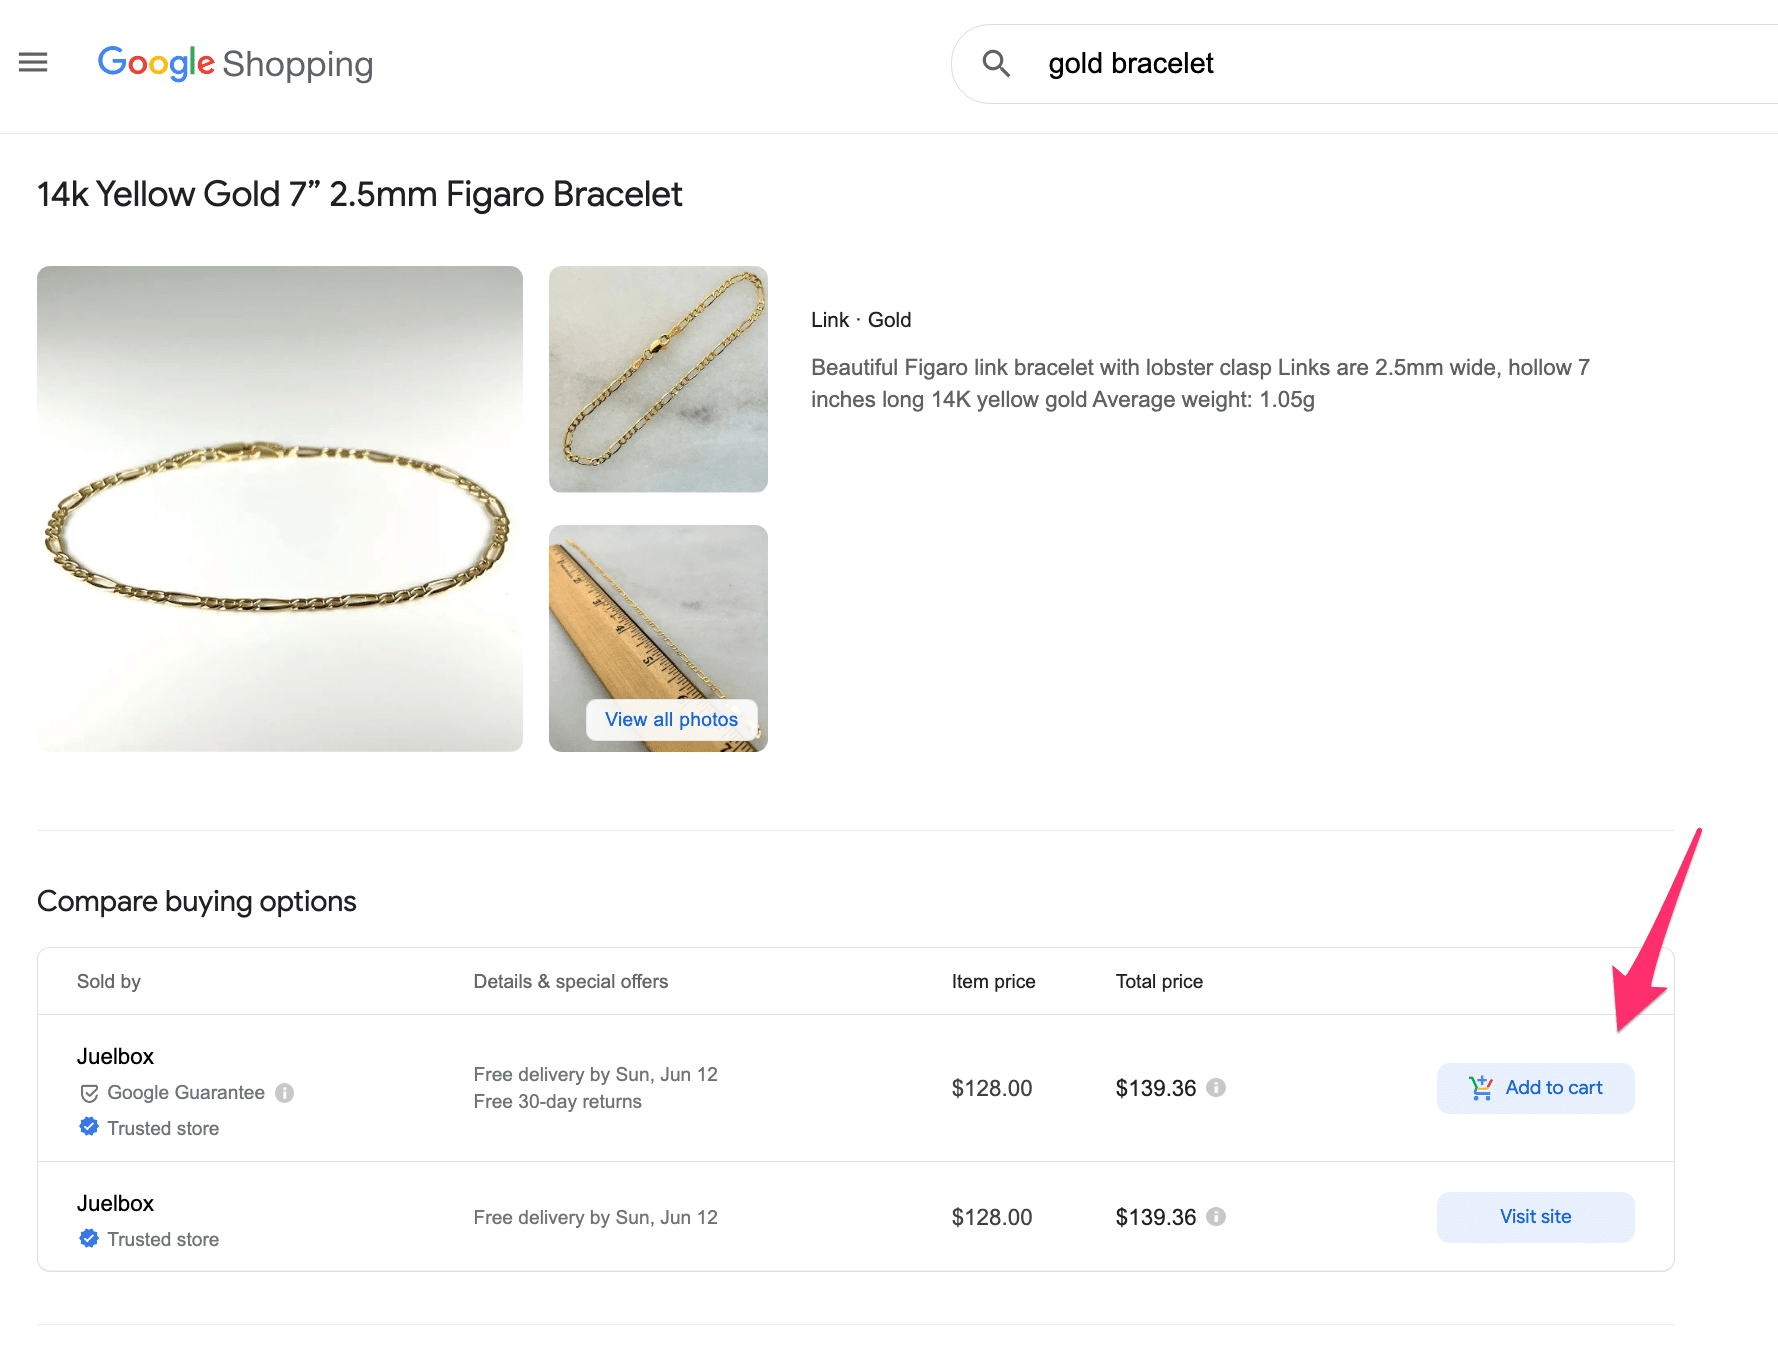
Here is what Buy On Google looks like for consumers:
After clicking the “Add to cart”, you’ll check out on Google.
How to Set up Buy on Google
As I’ve mentioned, the Buy on Google program is pretty cumbersome. Mainly because there are a lot of different parts you need to connect.
Here is an overview of what it takes:
- Set up business and product information
- Link your payment service provider
- Read and agree to the terms and service
- Request a review of your merchant account
- Set up order management to push orders back into your ecommerce platform (optional but highly recommended)
When you’ve provided all the details, you need to wait for Google to approve your request. Upon approval, Buy on Google will be activated on your account.
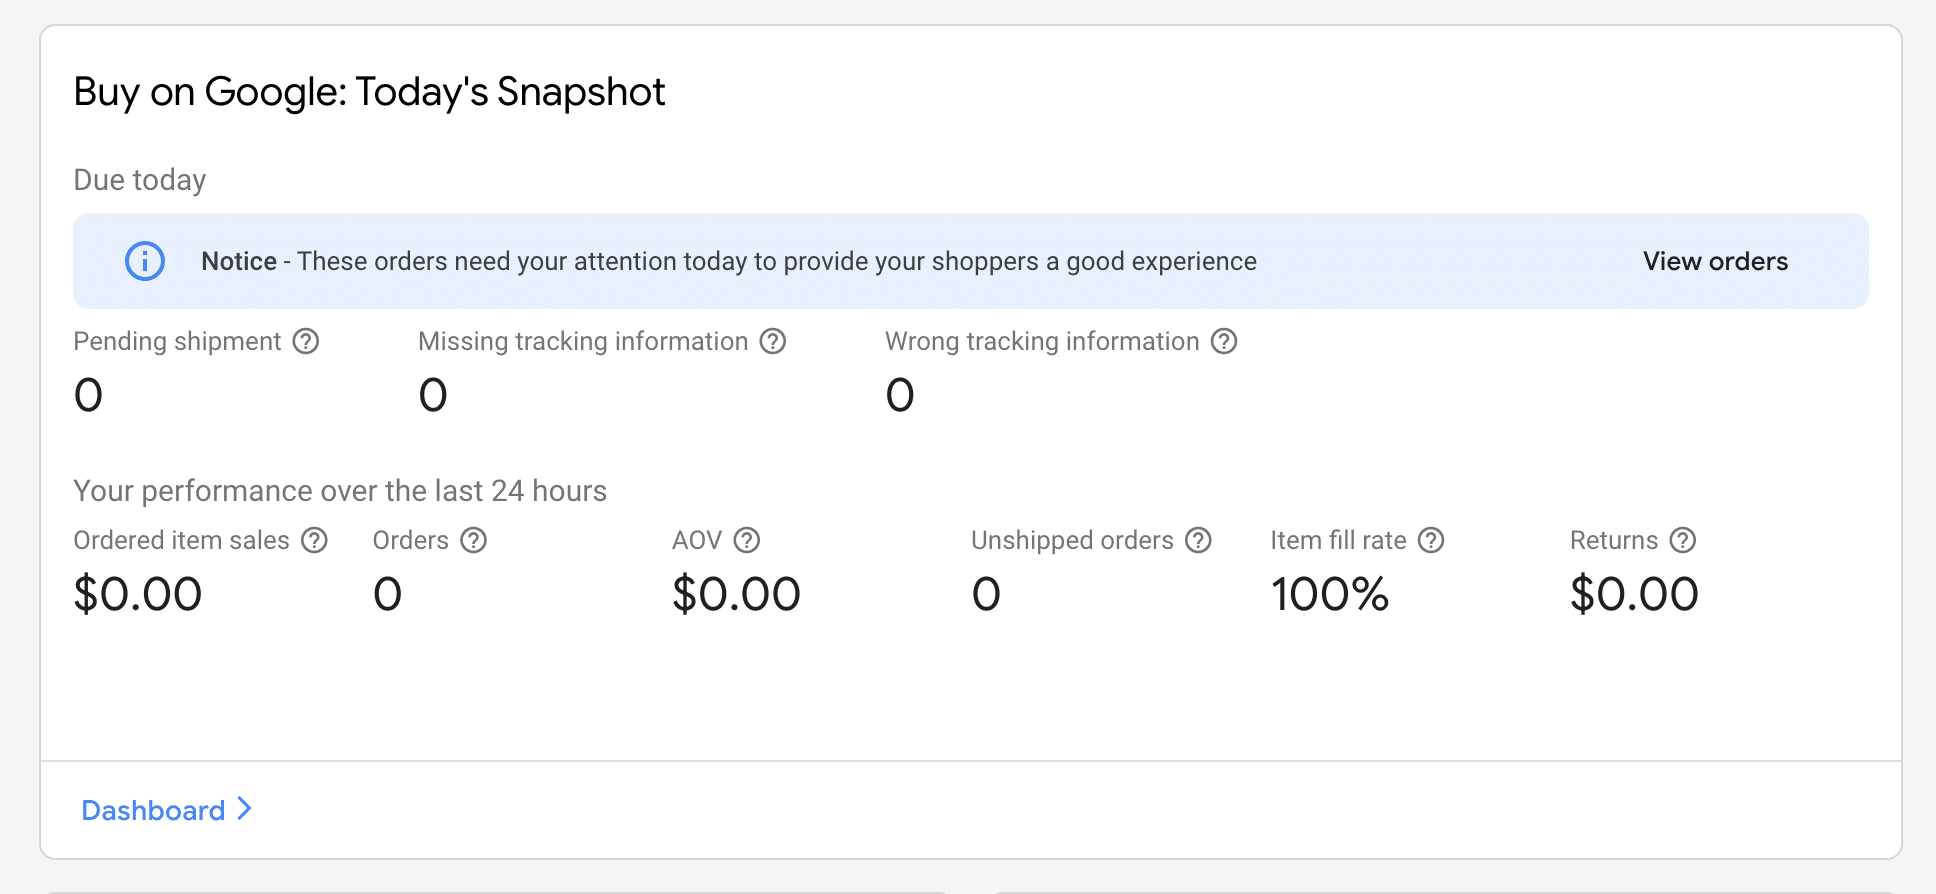
After, you’ll see the following dashboard appear in your Google Merchant Center:
-
Google Customer Reviews
Enabling the Customer Reviews program gives you the ability to collect written reviews from your customers.
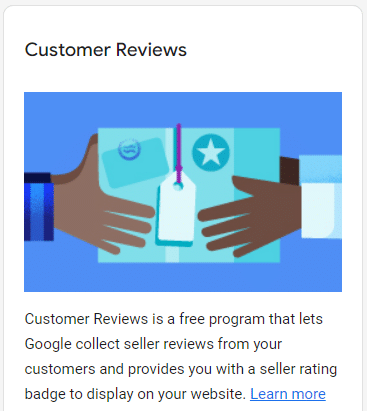
After a customer purchases your product, they will be asked to answer a short survey to rate their shopping experience. Your average rating will then be presented as a customer reviews badge on your website.
The reviews you can collect with Google Customer Reviews allow you to show seller ratings next to your ads.
As mentioned before, Google Customer Reviews also allows you to start showing Product Ratings.
How to Set up Google Customer Reviews
The Customer Reviews program is fairly straightforward to add to your website.
After you enable the program in your GMC account, you need to do the following:
- Review and accept the program agreement
- Integrate the survey opt-in module on your thank you page
- Integrate the customer reviews badge on your site
If you’re not very technical, these steps may seem intimidating, but don’t worry because Google will guide you through every step of the process.
-
Local Inventory Ads
If you have a physical location, Local Inventory Ads give you the ability to show if you have inventory close to a customer’s location.
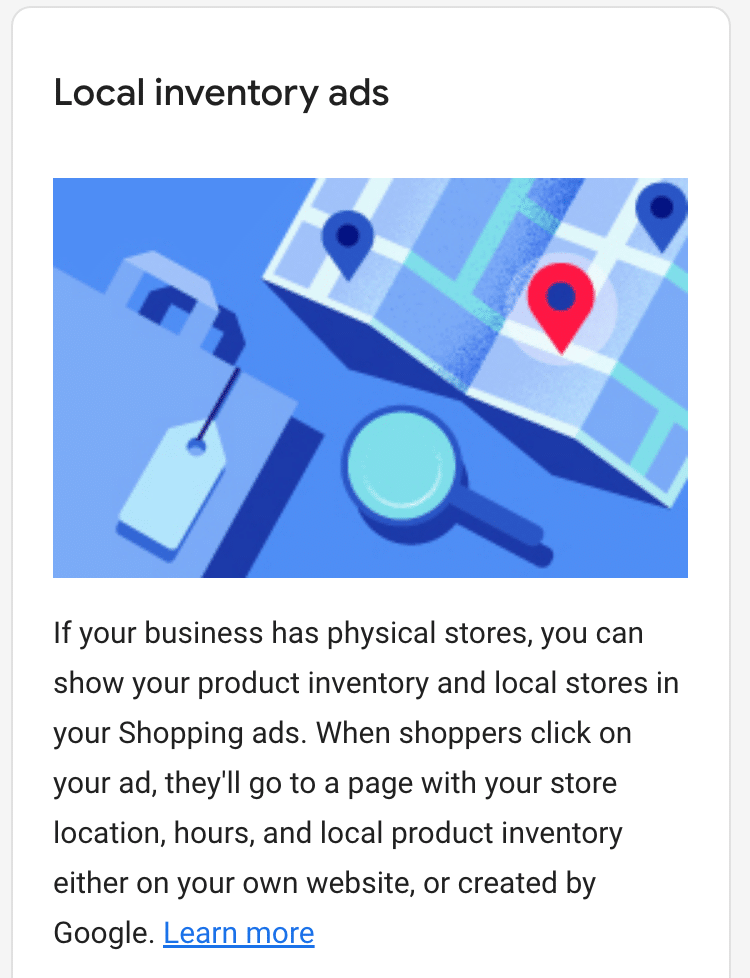
Here is what that looks like in the Shopping Ads:
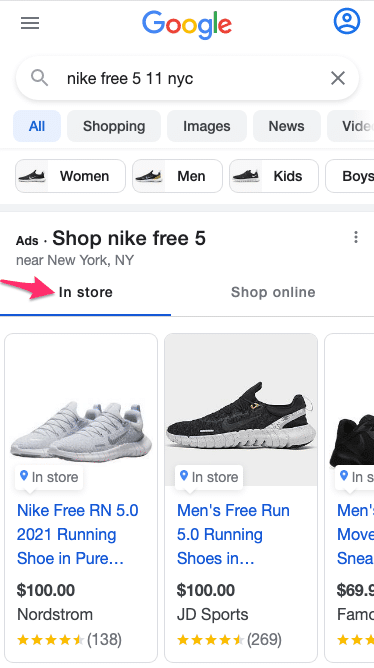
Since location is more important on mobile than desktop, you’ll find more local inventory ads on mobile searches.
The “In store” label on the Shopping Ad indicates that inventory is available locally.
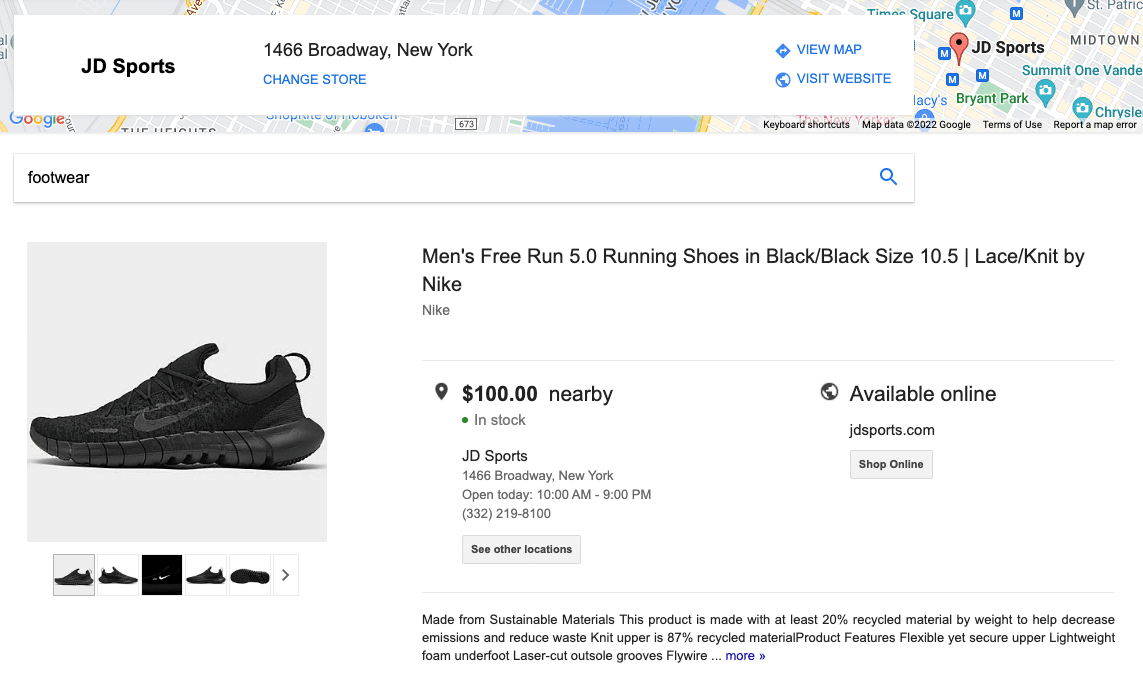
When clicked, sometimes the user goes straight to the retailer’s website. In other cases, they go to a “detail” page on Google:
There you can find more details about the location.
How to Set up Local Inventory Ads
First, you need to have products approved in GMC and run Google Shopping campaigns.
To get started with Local Inventory Ads:
- Create a Google Business Profile (used to be called Google My Business)
- Link Google Business Profile to Google Merchant Center
- Enable the Local Inventory Ads program
- Upload a local product inventory feed (this links your product feed to the specific locations)
- Request inventory verification
- Enable local products in your Shopping campaign
-
Free Local Product Listings
Free local product listings allow you to show if you have inventory close to a searcher’s location as part of a Free Listing.
It’s essentially the free counterpart to local inventory ads. And it shows on the Shopping tab, Google Search, Google Maps, and Google Images.
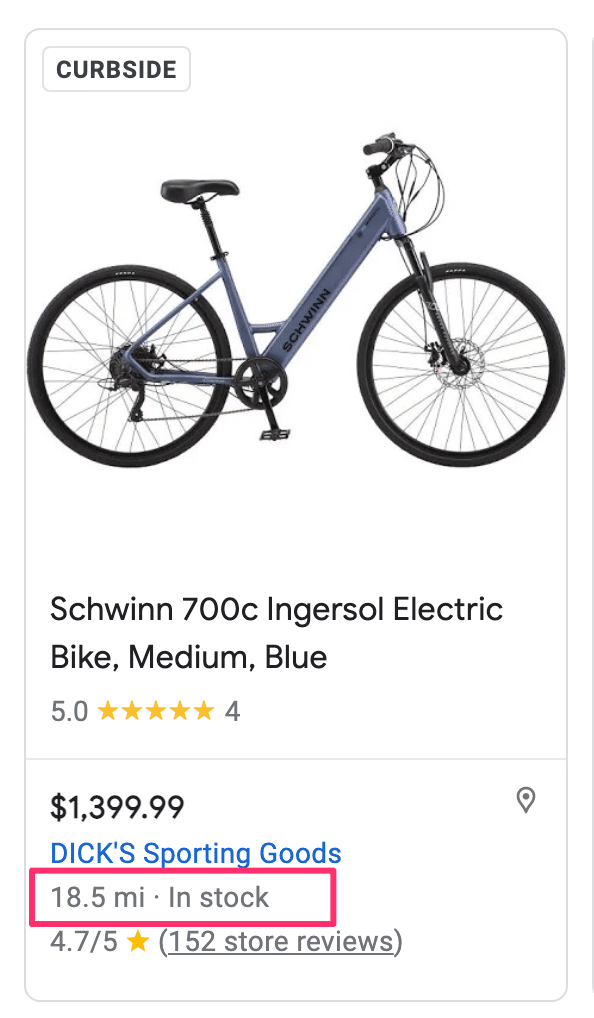
Here is a free listing for an electric bike, and you can see Google indicating that it’s available 18.5 miles from my current location.
How to Set up Google Free Local Product Listings
In order to start showing the inventory details with your Free Listings, you first have to have completed all of the steps necessary for the Free Listings and Local Inventory Ads programs.
Then you can enable to program and get going.
Get Started With Google Merchant Center Programs For Your Store
When used right, the nine Google Merchant Center programs discussed in this article can help you get more leverage out of your product feed.
So if you’ve made it this far, then the next thing you should do is have a look at your account and figure out which programs you need to add as soon as possible.
